Baring all…
by zoesylviasimpson
♥
So today I was planning on fibreglassing the parts of the ‘van which are letting in rain and wind. I bought the things I need to do this the other day. I can’t believe how cheap and easy it is to do it! All you need is a fibreglass mat, resin and the hardener to set the resin with. In total, this cost me around £15.

♥ ♥ ♥ ♥ ♥ ♥ ♥
So, as I was saying, I was planning on fibreglassing… however, when I went to rip off the water-damaged wall on the inside I realised that job will have to wait…

As you can see from the photo above, the rot behind the wall panel is a lot worse than I originally thought; the polystyrene insulation and the wood framing is completely soaked through and rotten far beyond being salvageable. This isn’t a HUGE deal because I was in two minds whether or not to re-insulate the ‘van anyway. However, it does mean that I’ll have to let it all air-dry out for a few weeks {or months…} before I can do anything further with it.
So, with that being said, I decided to see what else was hiding behind the cardboard wall (yes, cardboard – I’m not sure why caravans are so expensive when they’re made with arts and crafts materials…). The cardboard was that soggy that it was literally tearing like paper – either that or I’m just really strong and muscley {I’d like to believe the latter…}.


Yeah, I know, it’s gross. The polystyrene and cardboard behind the cardboard wall is completely sodden. I’m going to have to strip it all back to the outside wall but I’m scared to at the moment in case the window falls out…
{*nervous laugh/cry/tiny scream*}
♥ ♥ ♥ ♥ ♥ ♥ ♥
I was planning on keeping the wooden seats in so that I could just re-upholster the cushions that go on top, however when I was sat on them whilst pulling off the wall, I noticed they weren’t secured to the wall as much as they should have been and they were wobbling. Again, this wasn’t a massive problem because, again, I was in two minds about what to do with them; either I was going to keep them in and re-upholster the cushions as I mentioned before, or I was going to rip them out and buy a proper real sofa instead. So, when I realised they were knackered that decision was made for me. So I set about ripping them out.


Uh-oh! I ran into a problem whilst pulling the seats out. I forgot about the plug socket that was on on of them – luckily I noticed just in time before I properly pulled on the seat and ripped out the wiring. I could have taken the socket off the seat but I’m not a novice at electrical work and I’d probably kill myself so I decided, for now, to leave it and to just cut the piece of wood it’s attached to out.

So this is what it looked like when I’d finished taking the seats out. Pretty, right? No? Hmm… Well, it’s ready to start air-drying out now until I’m motivated and brave enough to face the risk of the window falling out when I strip it all back… can’t wait.
♥ ♥ ♥ ♥ ♥ ♥ ♥
Now, do you remember in my last blog post I put a load of ideas on and one of them was the wall with the shelves on it? I plan to do that on what was the inside wall of the bathroom. I say was because my next job after stripping the rotten wall out was to rip out the bathroom walls to give myself extra space – there was no toilet in there (thank God!) so I didn’t plan on using that room anyway.


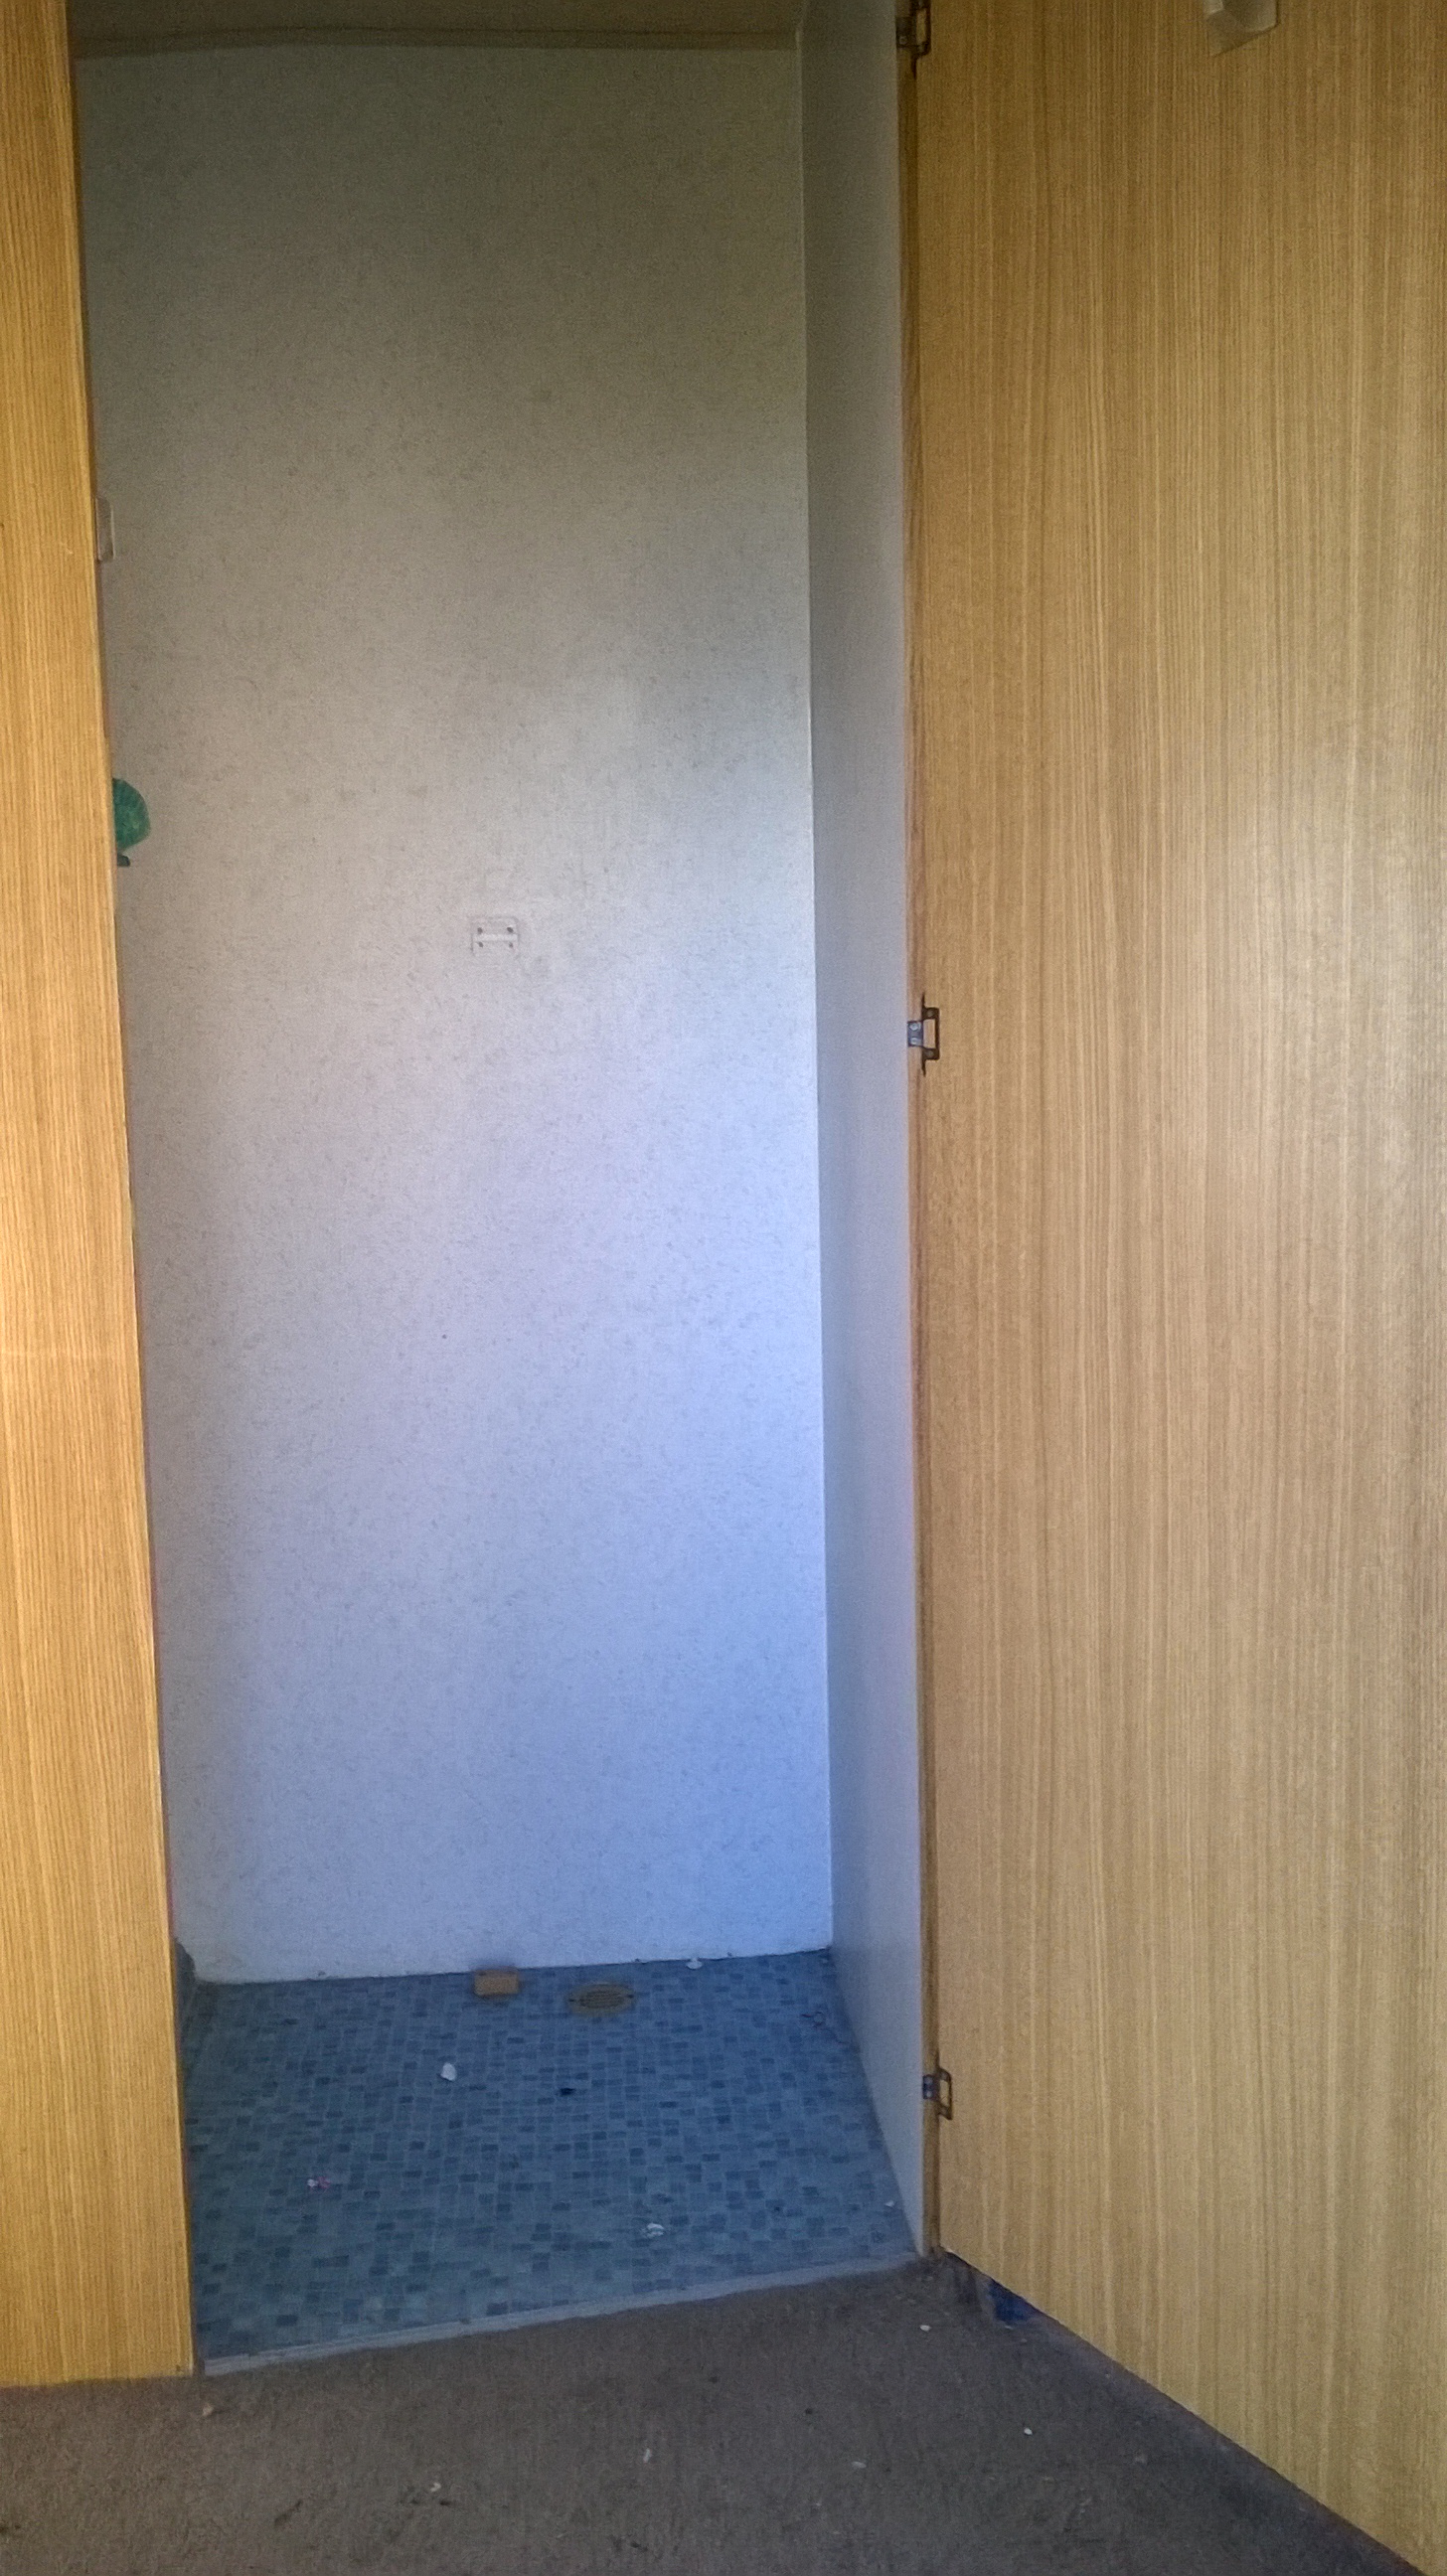
Easy job, I thought. Just smash the walls down, I thought… Alas, no. If only the rotten wall was as tough as the bathroom walls and the bathroom walls as weak as the rotten wall.
This job took at least an hour and a half, my mum’s help, an axe, a saw, a hammer, and a lot of screaming, shouting and swearing in frustration. However, eventually, just as I was starting to think I’d been beaten by a caravan, the walls came out.

{“There’s so much room for activities!”}
♥ ♥ ♥ ♥ ♥ ♥ ♥
Whilst pulling the walls out, the carpet (which I was going to get rid of anyway) began to come up, revealing the floor underneath. I decided, seeing as it was coming up anyway, to pull up the whole thing. This revealed a fairly large area of damp in the corner under the rotten wall I’d just pulled out hours before…

This made me want to cry and made me wish I’d not pulled the carpet up… however, if I hadn’t have pulled the carpet up I would have never have known the damp was there, and would have put furniture on top of it, risking the whole floor on that side falling through and all my hard work and money going to waste.
Again, this won’t be a big problem to fix. When I get round to fixing it (which will be in a few weeks when I’m home from Sheffield for long enough to get the job completed) I’ll simply cut out the rotten wood and replace it.
However, it’s not all doom and gloom! This is the only area of rotten floor in the whole ‘van – God doesn’t completely hate me after all!

As you can see from the photo above, the rest of the floor is completely fine and damp-free. It appears as though the only water-damage is all on one side of the ‘van, which makes life a little easier. It also means I can focus on decorating the side which is okay whilst waiting for the damaged side to air-out, avoiding the prospect of the whole project being put on hold for a few weeks.
♥ ♥ ♥ ♥ ♥ ♥ ♥
Over the next few days/weeks I’ll be keeping an eye out for pretty fabrics, paint and wallpaper to save ready for decorating. I’ll also be attempting to fix the water-damaged side of the ‘van and hoping it’s not a bigger job than expected…
♥

Just stumbled upon your blog, cool stuff, and nothing better then getting your hands dirty and doing real! Good luck.
LikeLike
Thank you! Yeah, there’s something great about the hard work put into making something your own, let’s just hope it’s a success overall!
LikeLike